I Absolutely Love Seeing Windows Crystal Clear and Streak-Free!
There’s something so satisfying about looking through a window that sparkles, free from smears and cloudy streaks. For many people, cleaning windows feels like a chore that takes forever, only to leave behind annoying marks that catch the light. But it doesn’t have to be that way. With just a little know-how and the right method, you can get crystal-clear windows in only a few minutes — and the best part is, it takes hardly any effort.
I learned this simple trick years ago, and it’s become my go-to routine every time my windows start to look dull or dusty. Today, I’ll walk you through exactly how it works, why it’s effective, and how you can get that same flawless finish in your own home.
What You’ll Need
Before you begin, gather a few basic items. Don’t worry, nothing on this list is expensive or hard to find:
A bucket of warm water – warm water helps dissolve dirt faster.
A few drops of dish soap – this cuts through grease and fingerprints.
Optional: a splash of white vinegar – vinegar adds extra shine and removes stubborn grime.
A squeegee – this is the real secret to a streak-free finish.
A microfiber cloth – gentle on glass and perfect for final touch-ups.
That’s it! No fancy sprays, no expensive tools. Just everyday things that most people already have in their kitchen.
Step 1: Make Your Cleaning Solution
Fill your bucket with warm water. Add a couple of drops of dish soap and mix it gently so you don’t create too many bubbles. If your windows are especially dirty or greasy, add a splash of white vinegar. Vinegar is a natural cleaner that not only removes grime but also helps prevent streaks.
This solution is simple, effective, and safe. You don’t need harsh chemicals to get professional-level results.
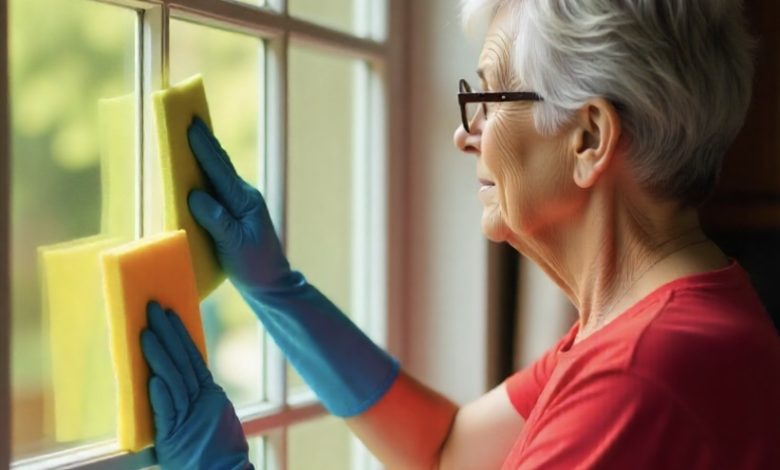
Step 2: Wash the Window
Dip your microfiber cloth into the bucket, wring it out until it’s just damp (not dripping wet), and start wiping the window. Work from the top to the bottom so dirt and water don’t drip down over areas you’ve already cleaned. Make sure you cover the entire surface — corners, edges, and all.
The goal at this stage is to loosen dirt, dust, and smudges so they’ll come away easily.
Step 3: Squeegee for Perfection
This is the game-changer. Right after you’ve wiped the window, take your squeegee and place it at the top of the glass. Pull it straight down in one smooth motion. Wipe the blade with a dry towel after each stroke so you don’t drag dirty water across the glass.
Work your way across the window, stroke by stroke, until the whole surface is clean. This step is what gives windows that professional, streak-free look.
Step 4: Finishing Touch
Once you’re done with the squeegee, take your dry microfiber cloth and gently wipe any spots the squeegee might have missed. Pay attention to corners, frames, or tiny streaks. After this last touch, your windows should be shining so clearly it almost looks like the glass isn’t there.
Why This Works So Well
Many people struggle with streaks because they only use paper towels and spray bottles. The problem is that paper towels leave lint behind, and sprays don’t always remove dirt evenly. By using a microfiber cloth to loosen dirt and a squeegee to remove water, you eliminate both of those problems. It’s quick, simple, and leaves the glass spotless every single time.
Beyond Windows: Other Surfaces
The same method can be used on mirrors, shower doors, and even car windows. Once you see how well it works, you’ll never go back to the old way.
The Truth About “Best By” and “Best Before” Dates
Now let’s talk about another everyday issue that affects nearly every household: food labels. If you’ve ever looked at a can of soup or a box of pasta and wondered whether it’s still safe to eat after the “Best By” date, you’re not alone. Millions of people throw away perfectly good food because they misunderstand what those dates actually mean.
This confusion doesn’t just hurt your wallet — it also contributes to massive amounts of food waste worldwide. The good news? With the right knowledge, you can make smarter decisions, reduce waste, and keep your pantry stocked with food you can trust.
What “Best By” Really Means
The phrase “Best By” is not the same as an expiration date. Instead, it tells you when the manufacturer thinks the product will taste its best. It’s about quality, not safety.
For example, a can of beans that says “Best By June 2024” will probably taste freshest if eaten before that date. But if the can is still sealed, stored properly, and shows no signs of damage, the beans are almost certainly safe to eat even months — or years — later.
“Best By” vs. “Use By”
Here’s a simple way to understand the difference:
Best By – About quality. The food will taste and look its best before this date.
Use By – About safety. Found on items like milk, cheese, and deli meats. These should be followed more carefully because they spoil faster.
Knowing this difference helps you decide what can stay in your pantry and what needs to go.
How Long Can Canned Foods Last?
Canned goods are some of the most durable foods in your kitchen. If stored in a cool, dry place, many cans can last years past their “Best By” date. Of course, you should always check for signs of spoilage first, but here are some general guidelines:
Canned beans, vegetables, soups – Often safe 2–3 years beyond the date.
Canned meats and fish (like tuna or chicken) – Typically good for 2–5 years.
Tomato products – Because of their acidity, they may only last 1–2 years past the date.
How to Check If Food Is Still Good
Even if a can is past its “Best By” date, you can often tell whether it’s safe by using your senses:
Look – Is the can bulging, rusted, or leaking? If so, throw it out.
Smell – Open it carefully. Does it smell sour, metallic, or rotten? Don’t risk it.
Taste – If it looks and smells fine, try a small amount. If the flavor is off, discard it.
Trust your senses — they’re often more reliable than the printed date.
Storage Matters
How long food lasts also depends on how you store it:
Keep cans in a cool place (50–70°F is ideal).
Avoid damp areas, which can cause rust.
Don’t leave them in direct sunlight or hot garages.
Good storage habits can add years to the life of your canned goods.
The Cost of Food Waste
Every year, billions of dollars’ worth of food is thrown away unnecessarily. In the U.S. alone, more than 30% of all food goes to waste. Much of this happens because people think “Best By” means “throw away.” Not only does this hurt family budgets, but it also creates huge environmental problems. Wasted food often ends up in landfills, producing harmful greenhouse gases.
How to Reduce Waste
Here are some simple steps anyone can follow:
Don’t panic about dates – Remember, “Best By” means best quality, not unsafe.
Rotate your pantry – Use the “first in, first out” method so older items get eaten first.
Buy smart – Don’t stock up on more perishables than you can use.
Donate – Give unopened items nearing their “Best By” date to food banks.
Wrapping It Up
Just like streak-free windows bring a clear view of the outside world, understanding food labels gives you a clearer perspective on what’s safe and what’s wasteful. With a little effort, you can enjoy spotless windows and a smarter, more sustainable kitchen.
Remember:
Clean windows don’t need expensive sprays — just water, soap, vinegar, and a squeegee.
Food labels aren’t strict expiration dates — they’re quality guidelines.
Smart storage and common sense can save you money and reduce waste.
By paying attention to these simple lessons, you’ll not only keep your home sparkling but also make choices that are better for your health, your wallet, and the planet.